The Subway is one of the best attractions at Zion National Park, and if you’re lucky enough to see it for yourself, congratulations! Many people only ever dream of getting the opportunity to hike in such an enchanting place.
Despite the effortless beauty of The Subway, successfully hiking the Subway does take some preparation. Due to the difficulty level of this trail, it is important for hikers to have an understanding of what the bottom-up hike entails ahead of time.
Knowing what gear to bring, what to expect during the hike, and reading up on the tips from my past experience will really help enhance your overall experience.
This post may contain affiliate links. You won’t be paying a cent more, but in the event of a sale, the small affiliate commission I receive will help keep this blog running/pumping out useful and free content. Thanks a lot!
Table of Contents
The Subway Hike At Zion National Park: Hike Description
The Subway Hike at Zion National Park is a challenging and exhilarating adventure that takes hikers through some of Utah’s truly stunning and unique landscapes. The hike is named after the narrow slot canyon that hikers will pass through, which resembles a subway tunnel.
The Subway Hike is approximately 9 miles long and takes hikers through a variety of terrain, including steep inclines, rocky terrain, and sections of the Virgin River. The hike requires decent hiking skills, pre-planning, and special equipment not typically needed on your average dayhike.
Having said that, don’t let the preparation part scare you off because the hike is so much fun, I have no doubt in my mind that you’ll find that all the pre-planning will be totally worth the effort!
The highlight of the hike is the section through the Subway, where hikers will pass through the narrow slot canyon and witness the stunning beauty of the surrounding rock formations!
Subway Hike: Bottom-Up Route vs. Top-Down Route
There are two ways to hike the Subway Hike in Zion National Park: the Bottom-Up Route and the Top-Down Route.
Bottom-Up Route
The Bottom-Up Route is a popular option for those who want to experience the beauty of the Subway without having to navigate the more challenging and technical sections of the hike.
If you want to avoid learning how to rappel, swimming with wetsuits in cold water, and taking the technical route to see The Subway, you can hike “bottom-up” from the Left Fork Trailhead.
This route allows regular day hikers to experience some of the most beautiful remote scenery in the park. Along the way, you’ll see beautiful cascades, pools, and waterfalls, as well as the famous Lower Subway formations.
This route begins at the Left Fork Trailhead and follows a well-marked trail through a beautiful forest and meadow. As hikers approach the canyon, the trail becomes more challenging, and hikers will need to navigate through sections of the river and climb over boulders and rocks. The Bottom-Up Route is approximately 9 miles round trip and takes an average of 6-10 hours to complete.
Allow plenty of time to do this hike and be prepared to get wet! This hike doesn’t require any canyoneering gear or rappelling skills but it is a great adventure nevertheless.
Top-Down Route
The Top-Down Route is a more challenging and technical option that requires advanced hiking skills and equipment, including proper footwear, wetsuits, and ropes.
This route begins at the Wildcat Canyon Trailhead and follows a steep descent into the canyon. Hikers will need to navigate through the river, climb over boulders and rocks, and rappel down several waterfalls. The Top-Down Route is approximately 9.5 miles long and takes an average of 10-12 hours to complete (longer due to all the technical stuff that you need to do to rappel down things).
Hikers who choose this route should be prepared for a challenging and rewarding adventure that requires advanced hiking skills and equipment.
This post will guide you on how to do the Bottom-Up Route. Interested in how it all sounds? Awesome, let’s start with a few important notes first.
The Subway Hike (Bottom-Up): Important Things To Know
- Difficulty Rating: Strenuous
- Hiking Time: 6–10 hours
- Distance: 9 miles, round-trip
- Elevation Change: 1,000 feet
- Permits: Zion National Park requires all hikers of The Subway to have permits.
- Route Note: The Subway top-down route (which also requires a permit) involves technical canyoneering. Most day hikers will do the bottom-up route.
Wilderness Permits For The Subway Hike
APPLYING FOR PERMITS
A wilderness permit is required for all hikes through the Left Fork/Subway (“bottom up” and “top down”). The Wilderness permit application process is the same for all canyoneers and/or hikers going into Left Fork. The only difference will be the starting and ending trailheads listed on your reservation and permit.
Due to the increasing popularity of this hike, the Subway is managed under a quota system.
There are three ways to get a permit– the advanced lottery (2 months in advance), calendar reservations (1 month in advance) and the last-minute lottery system (7-2 days in advance). The group size limit is 12.
These lottery systems allocate a total of ~80 permits per day. In the unlikely event that spaces remain after the Last Minute Drawing, walk-in permits become available the day before your trip date.
For the best chances of getting a permit, go for the advanced lottery. Online applications must be submitted two months prior to your planned trip. On each application, you can select three possible dates for your hike. There is a $5.00 non-refundable fee for the Advance Lottery application.
After the park conducts the lottery drawing, they will contact you about the status of your application. For more information on permit reservations, please see the Subway Permits page on NPS.
PICKING UP PERMITS
On the day before your hike or on the day of, you will need to go to the Wilderness Desk in the Zion Visitor Center to obtain your physical permit and parking pass.
Note there are additional fees required, based on the number of people in your group. The cost of the permits is a total group fee, not a per-person fee. You will pay this when you pick up your permit:
- $15 for 1-2 people
- $20 for 3-7 people
- $25 for 8-12 people
Permits must be picked up at one of the park Visitor Centers and carried with you during your hike.
The hours for the Wilderness Desk vary by season, but you need to get here as early as you can to avoid the long, slow-moving line of other backcountry hikers.
Pro Tip: From my personal experience of waiting in line, each permit takes about 10-15 minutes to process, which includes hikers asking questions and rangers giving their safety talk. Being one of the first in line would have saved us so much time!
Packing List For The Subway Hike (Bottom-Up Route)
First things first. Hiking to The Subway involves multiple river crossings over the Left Fork of North Creek.
If you bring nothing else on the recommended list below, I’d still highly recommend you wear closed-toe water shoes. You may have a very uncomfortable day without these!
And remember, this is an all-day hike, so along with the recommendations below, you should also bring what you personally need to be out all day.
- Hiking Daypack | A must-have to carry your snacks, keys, tech, light towel, packable jacket, etc.
- Weather-appropriate clothing (windbreaker or puffy jacket for men and women) | Since this hike is shaded in some parts, not to mention the fact that you’ll be getting wet throughout the hike, it’s always best to carry a light jacket with you.
- Water Hiking Shoes (for men and women) | You need these, your feet will thank you later. We like the Merrell All Out Blaze Aero Hiking Water Shoe.
- Neoprene socks | You also need these, your feet will thank you later. You can also rent water shoes and neoprene socks at Zion Outfitter.
- Hiking poles (optional, if you want that extra stability; we didn’t bring any and did just fine– budget-friendly option or lighter, higher-quality, more ergonomic option)
- Lots of water and snacks, maybe even a packable lunch.
- Stinger Waffles are one of my favorite sources of quick and delicious energy.
- Aim for 3 liters of water per person, maybe more if you’re hiking in the summertime or tend to drink a ton of water while hiking
- Sunscreen
- Hat
- Mini survival kit | Get one that’s pre-made like this one, or make your own
- Directions for the hike | Print this guide out or screenshot the important parts on your phone.
- Waterproof bag / dry sack | We have this trusty one. Always good to have, especially if you’re bringing a nice camera for photography or anything else you don’t want to potentially get wet.
- The America the Beautiful National Parks Pass | Entrance into the park costs $35 for a private vehicle, valid for 7 days. I recommend getting this national parks pass instead. It costs $80 and will get you into any of the 2,000 National Parks, National Monuments, or National Forests for an entire year. As long as you visit 2 additional national parks, the pass will more than pay for itself and save you so much money on park admission fees. You can buy a pass online at REI or in-person at the entrance gates of any National Park.
Read More: My Top 15 Hiking and Camping Essentials (With Product Recommendations!)
The Subway at Zion National Park (Bottom-Up Route): Hiking Guide With Photos
This hike starts and finishes at Left Fork Trailhead, on Kolob Terrace Road. Kolob Reservoir Road is 8.3 miles north of the junction from Route 9 in the town of Virgin.
There will be a good-sized parking lot once you arrive. From the parking lot, follow the well-maintained trail as it heads northeast for roughly half a mile. Keep walking towards the huge canyon walls ahead of you.

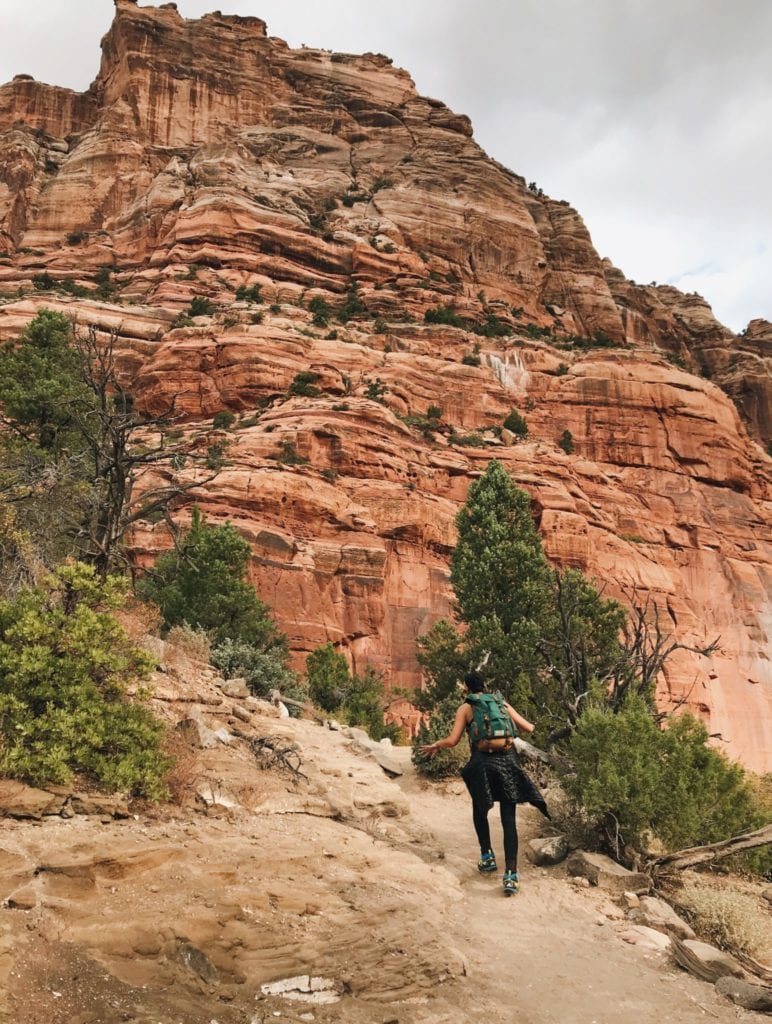

Eventually, you will see views like the above, overlooking the Left Fork. Continue along the trail as it leads slightly upwards. In no time, your fairly steep descent will begin. You’ll continue switching back and forth, zig-zagging down roughly 400 feet to reach the streambed of the Left Fork.
Be more careful here, as the ground tends to be sandier and rocks tend to be looser.


Once you complete your descent and reach a point where the trail meets the river/streambed, you are ready to hike up the canyon! Before you start hiking up the canyon alongside the stream, take note of your surroundings.
In this area, you will find a small sign pointing you to the trailhead (aka the exit). This is extremely important to note for when you need to hike back out.
Per the park ranger as well as many other guides out there, many weary, careless hikers have accidentally hiked past this exit sign, resulting in several miles of unnecessary walking. Don’t be that guy.
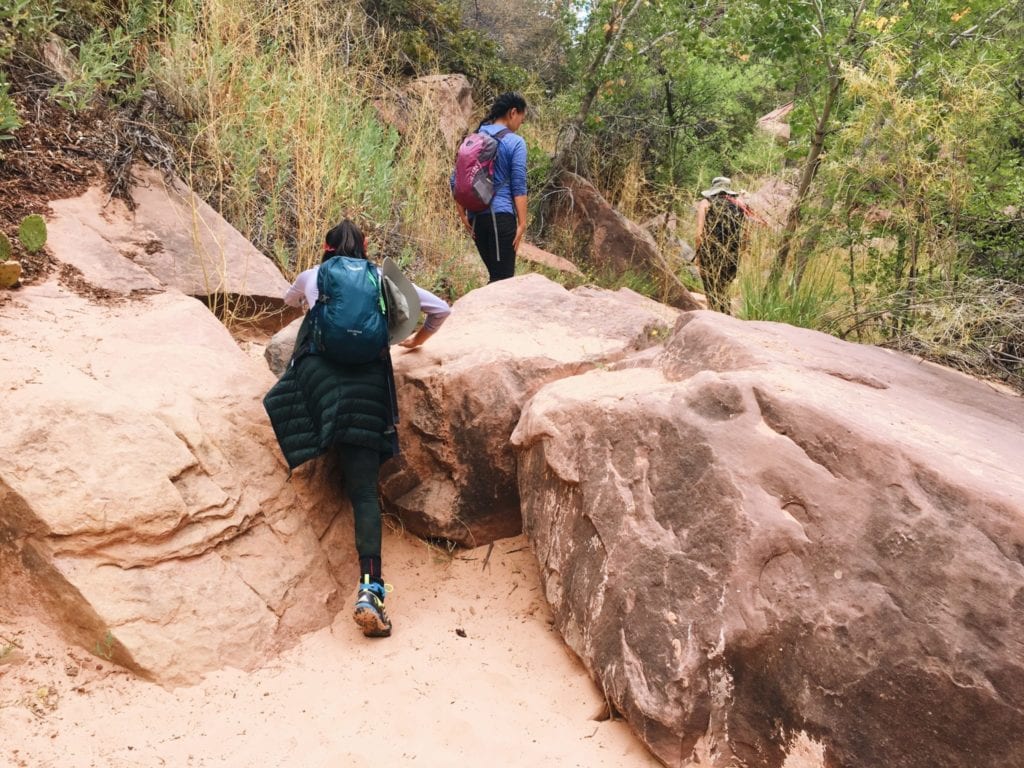
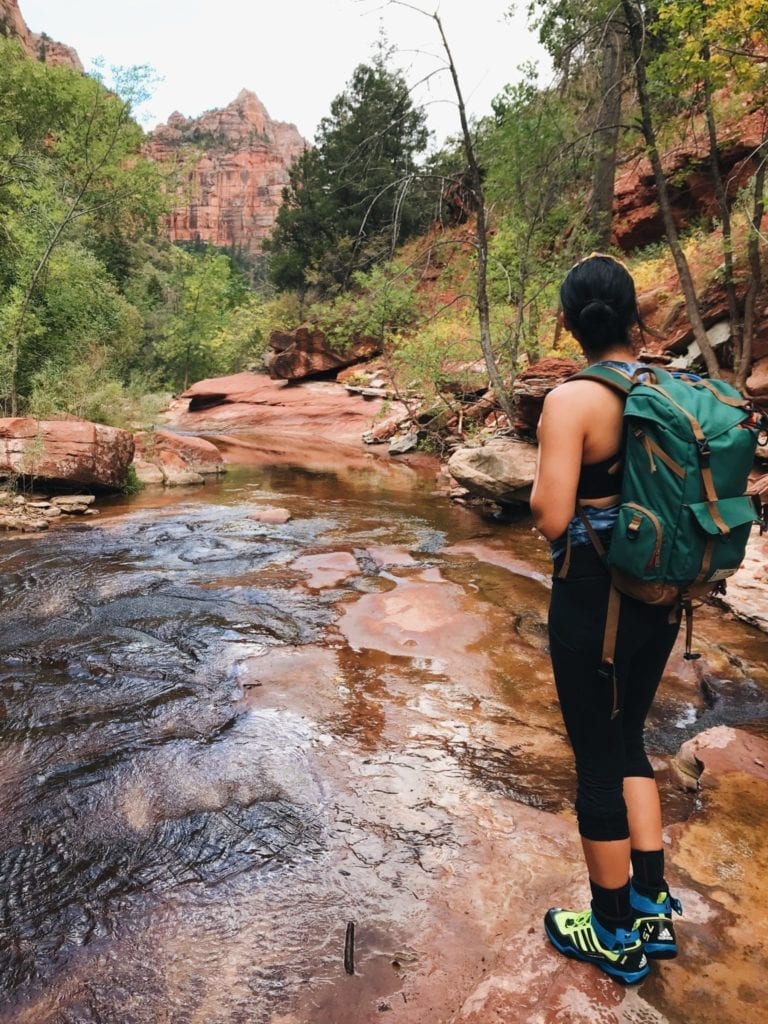
Continue hiking upstream. You will find that for the first two miles, you won’t need to hike directly in the water, as there are sections of trails to the right and the left of the stream that you can use. Continue to walk along the banks, boulder hop, and scramble as needed.
If you begin seeing a bunch of baby frogs hopping around in the sand, avoid stepping on them and just know you’re in the right area.


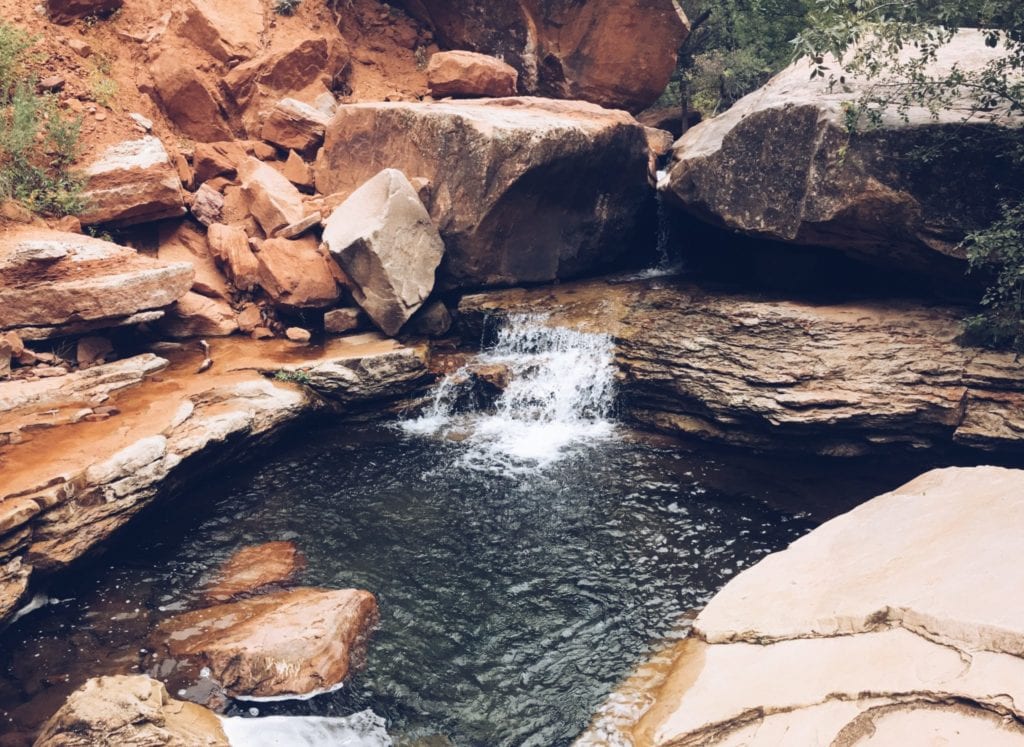
Eventually, you’ll find deeper and deeper pools of water. You’ll also find that at some point, there is no way to avoid the water any longer. This is where you take the plunge, feet first! Your feet will get used to the wetness in no time.
Don’t forget to get yourself a pair of neoprene socks to keep your feet warm during the wetter parts of the hike!
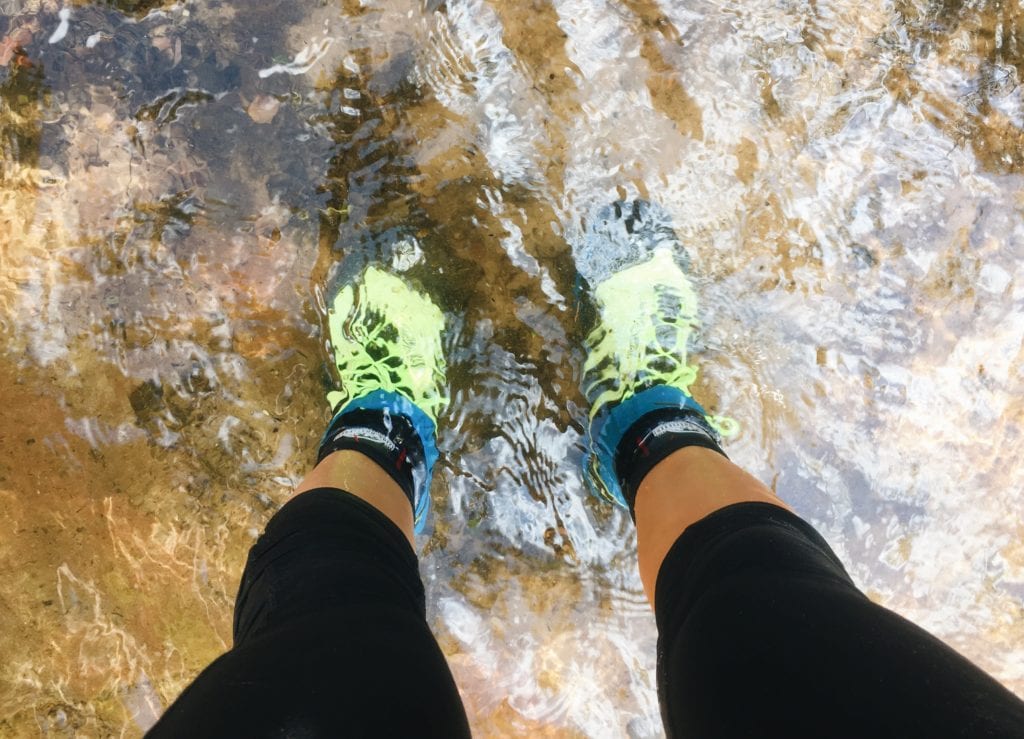
The canyon gradually narrows as it approaches The Subway, causing the stream to get more rugged. You’ll notice yourself slow down as you begin to trudge through higher water levels. After the first two hours of hiking, the scenery starts to really impress as the stream widens and the water begins to cascade over layers and layers of rock.

This waterfall is a sign that you are getting closer to the Subway itself, but do not mistake it for the actual staircase falls, located at 3.6 miles. Yes, it gets better!

Welcome to the iconic staircase falls– you’ll definitely know when you’ve reached them. Who knew water cascading down a number of terraced sandstone ledges would be so beautiful? This is a great place to stop and enjoy lunch since the Subway itself is too cold and wet for a picnic (you won’t be getting very much sun when you’re there).
When you’re done admiring this feat of nature, proceed to walk directly in the water up the staircase. For the most part, you won’t encounter any issues, but black algae can make some spots slippery, so tread carefully.
Continue up the trail. When you reach another waterfall (though this time clunkier and a bit less impressive), circumvent this by climbing up some rocks to the right of it. Once you’re up, the canyon takes a hard bend to the right and enters the impressive, narrow mouth to the Subway.
Keep walking in. At some point, you’ll notice the tubular oval cut out by centuries of flowing water. This is the spot where everybody takes the iconic Subway photos! You’ll notice the three emerald pools, the beautiful potholes filled with water, and the refreshing brisk air of this enchanting area. Watch your footing here as you ascend and descend the incline made of rock as it can be very slippery.
If you happen to be here during prime time, you’ll likely also see other hikers rappelling down the wall to get into the Lower Subway.
After you’ve had your fill of ogling and picture-taking, turn around and hike back out.


Though this is the official turnaround point for The Subway bottom-up hike, if you’re willing to get wet, you can continue back into the pools to see a small 20-foot tall waterfall created by a logjam.
The hike out will be easier than the hike in, though a bit tedious. Recall, this is a strenuous hike. Remember to keep an eye out for the exit spot!
Essential Tips For Hiking The Subway at Zion National Park
All of your friends / hike mates should apply for the permit and hope for the best.
A permit is required to access and hike the Subway. The NPS only allows about eighty people in per day, so it’s a complete luck of the draw when it comes to obtaining permits. Having as many people in your group apply helps with your odds of winning the permits. My Subway hike lottery experience for reference: 3 of us applied, only 1 of us won the lottery.
The bottom-up hike can be easily done without a guide.
If you’ve taken the time to note the landmarks of this hike before going, it will be easy to hike without “having someone who’s hiked it before guide you”. The trails are all very well-maintained so it’s hard to get lost. The key is this: if you continue to see footprints in the dirt and dried sand on the rocks you’re scrambling over (signs of usage from previous hikers), chances are you’re on the right track.
This is not a dry hike, use water shoes.
If you don’t have a sturdy pair of water shoes on hand, then rent them at one of the many local outfitters. Wet hiking boots are not pleasant, and you WILL get wet. Neoprene socks will also save your life and prevent frozen feet! For reference, when I went towards the end of summer, the highest water levels reached my upper thigh (I am 5’8).
Be prepared for a long hike in and a long hike out.
This is an all-day hike. The hike starts out relatively flat, followed by a pretty intense descent into the canyon, then continues to be a long trek into the canyon to the Lower Subway. Then, you do it all over again on the way out.
Because of all the water crossings and switching between the left and right banks of dry land, you may end up doing more mileage than what hiking guides officially note the hike distance to be. (For us, it ended up being about 10 miles from the parking lot to the end of the Subway.)
Start the hike early.
Allow plenty of time to do this hike and keep track of time! Don’t underestimate how long it’ll take to complete this hike; it takes a full day to hike and explore The Subway. If you start late and hike slower than average, you may have to turn around before seeing the best part of the canyon and race the sun back to your car.
For reference, we started at 10:15am, which was pretty late, and finished at 6pm. It took a whole 8 hours for a relatively fit group of girls.
Bring lots of water for the trek.
Bring 2.5-3 liters of water, or enough to satiate your thirst for 7-9 hours of hiking. This will be especially important if you are hiking the Subway in hot summer weather. I brought about 2 liters and underestimated the distance/time it would take to complete the hike and ran out of water towards the last mile and a half.
Note landmarks while hiking.
After the descent into the canyon and before you continue on through the canyon, take note of where this junction is. When you come back out, you’ll have to locate where the ascent begins (there will be a sign for “Left Fork Trailhead”).
We spoke to the park ranger who said that many groups have inadvertently missed this exit point and have hiked for many extra hours in the wrong direction.
If you aren’t a pro hiker, Google Maps can help guide you into the canyon.
When I hiked the Subway with my group of friends, we referred to Google Maps to make sure we were walking in the right direction. Though it won’t tell you which turns to make or which forks to take, Google Maps is helpful in giving you a hint of if you’re in the general vicinity of where you need to be, or if you’re veering off track completely.
You might not need hiking boots or a dry bag.
A lot of other guides out there mention the need to bring sturdy hiking boots and a dry bag to keep your belongings safe. I found neither of these to be useful. As long as you rent or buy sturdy water shoes, there is no need to bring an extra pair of dry hiking boots (water shoe recommendations: men and women).
I had asked multiple outfitters around Zion NP and was told that bringing extra dry hiking boots on the trail is more of a preference, but by no means necessary to enjoy The Subway hike. In terms of bringing a dry bag, this is typically not required in the summertime since at no point in the bottom-up hike are you ever submerged or chest-deep in water.
Hiking sticks are also not required.
Since you’ll be doing a lot of rock scrambling and not so much water wading past hip height, hiking sticks or trekking poles will just get in your way. Despite what the park ranger told our group when we hiked The Subway in late September, we went against his canned advice and found that there was really no need for trekking poles at all.
You can get a sense of recent trail conditions by reading the reviews on AllTrails.
Head to The Subway Trail’s page and scroll down to the comments section to better understand trail conditions. The comments may mention things like how muddy the trails are, how deep the water levels are, and how hot the weather was during other people’s hikes.
The little tidbits of info from the more recent comments could really help you better understand what to expect on the day of your own hike.
Keep an eye out for flash flood warning signs at all times.
Flash floods are a serious, life-threatening risk in the Zion area. They can occur with very short notice, so always be on the lookout for flash flood warning signs. According to the park ranger, you would be relatively safe if you were within the first 2 miles of the hike and it started raining. Since the canyon walls are relatively far apart here, flash floods are less of a risk.
However, if you are in the Lower Subway (last portion of the hike) during a flash flood, get out immediately and retreat to higher ground as fast as you can. Better yet, if rain or thunderstorms are in the forecast, don’t attempt the hike at all.
And there you have it! I hope this Zion National Park Subway Hiking Guide has helped clarify a few things for you and has prepared you a little bit more for this adventure of a lifetime! If you have any questions, feel free to drop them in the comments or send me an email!
Read More:
The Perfect 5-Day Zion and Bryce Canyon National Park Road Trip From Las Vegas
15 Expert Tips For Hiking The Narrows at Zion National Park (Bottom-Up)
Bryce Canyon and Zion National Park, Utah: In Photos
My Top 15 Hiking and Camping Essentials (With Product Recommendations!)

